Kibana环境搭建:
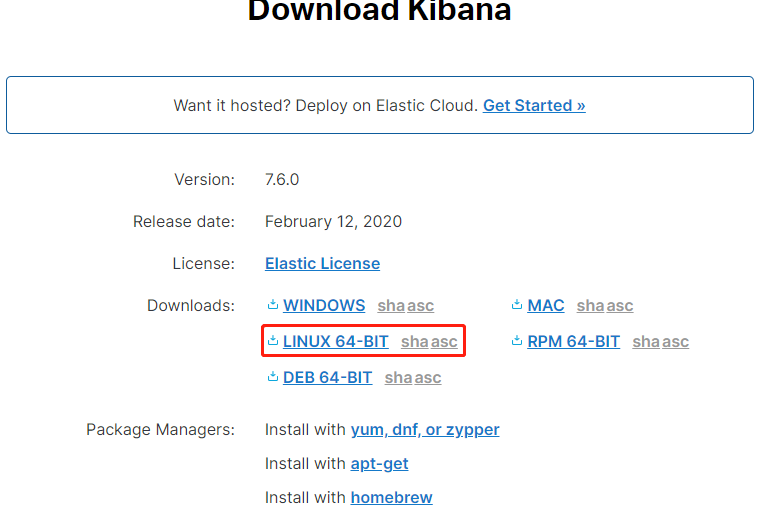
1.下载kibana包上传到服务器,下载地址:https://www.elastic.co/cn/downloads/kibana
2.解压下载的Tar包(过程比较久、大概30秒左右)
[root@chenxi software]# tar -zxvf kibana-7.6.0-linux-x86_64.tar.gz
3.重命名文件夹名称
[root@chenxi software]# mv kibana-7.6.0-linux-x86_64 kibana
4.进入kibana目录下
[root@chenxi software]# cd kibana
5.修改kibana.yml配置
[root@chenxi kibana]# vim config/kibana.yml
# Kibana is served by a back end server. This setting specifies the port to use.
# 取消注释,开放端口
server.port: 5601
# Specifies the address to which the Kibana server will bind. IP addresses and host names are both valid values.
# The default is ‘localhost’, which usually means remote machines will not be able to connect.
# To allow connections from remote users, set this parameter to a non-loopback address.
# 取消注释,配置服务器IP地址
server.host: “192.168.0.1”
# The URLs of the Elasticsearch instances to use for all your queries.
# 取消注释,配置ES环境IP地址以及端口
elasticsearch.url: “http://192.168.0.1:9200”
6.由于kibana安全性问题不能使用root启动,新建用户,并赋予文件夹权限或者启动命令后追加 –allow-root
[root@chenxi kibana]# groupadd kgroup # “kgroup” (组名)
[root@chenxi kibana]# useradd kuser # “kuser” (用户名)
[root@chenxi kibana]# chown -R kuser:kgroup /chenxi/software/kibana
#”/chenxi/software/kibana” 为安装目录
7.切换用户
[root@chenxi kibana]# su kuser
8.启动Kibana
[kuser@chenxi kibana]# bin/kibana
##注意防火墙开启5601端口和9200端口
##注意Kibana与Es版本号兼容问题
##注意低版本的Kibana不包含x-pack插件
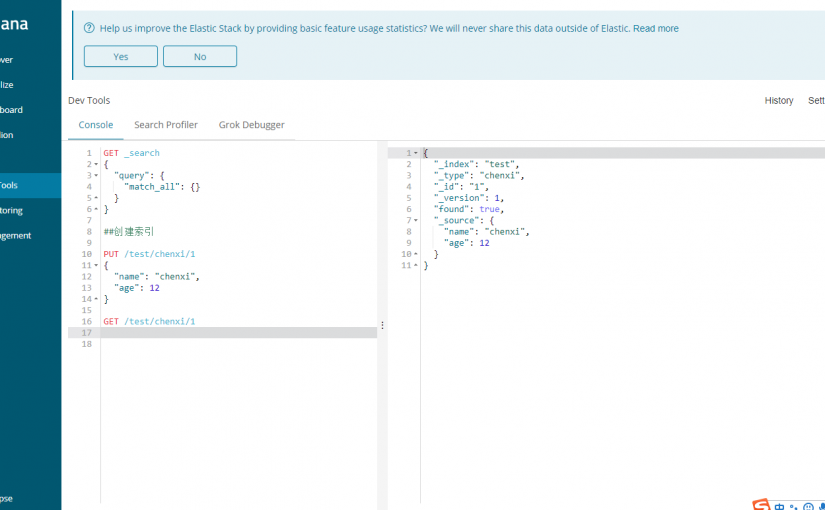
控制台输出:
log [07:00:18.179] [info][listening] Server running at http://192.168.0.1:5601
访问地址:http://IP:5601
用户名:amin/123456